Interact with MetaMask
In this section we will demonstrate how MetaMask connects to the Rooch network, how to connect to DApp, and how to interact with DApp.
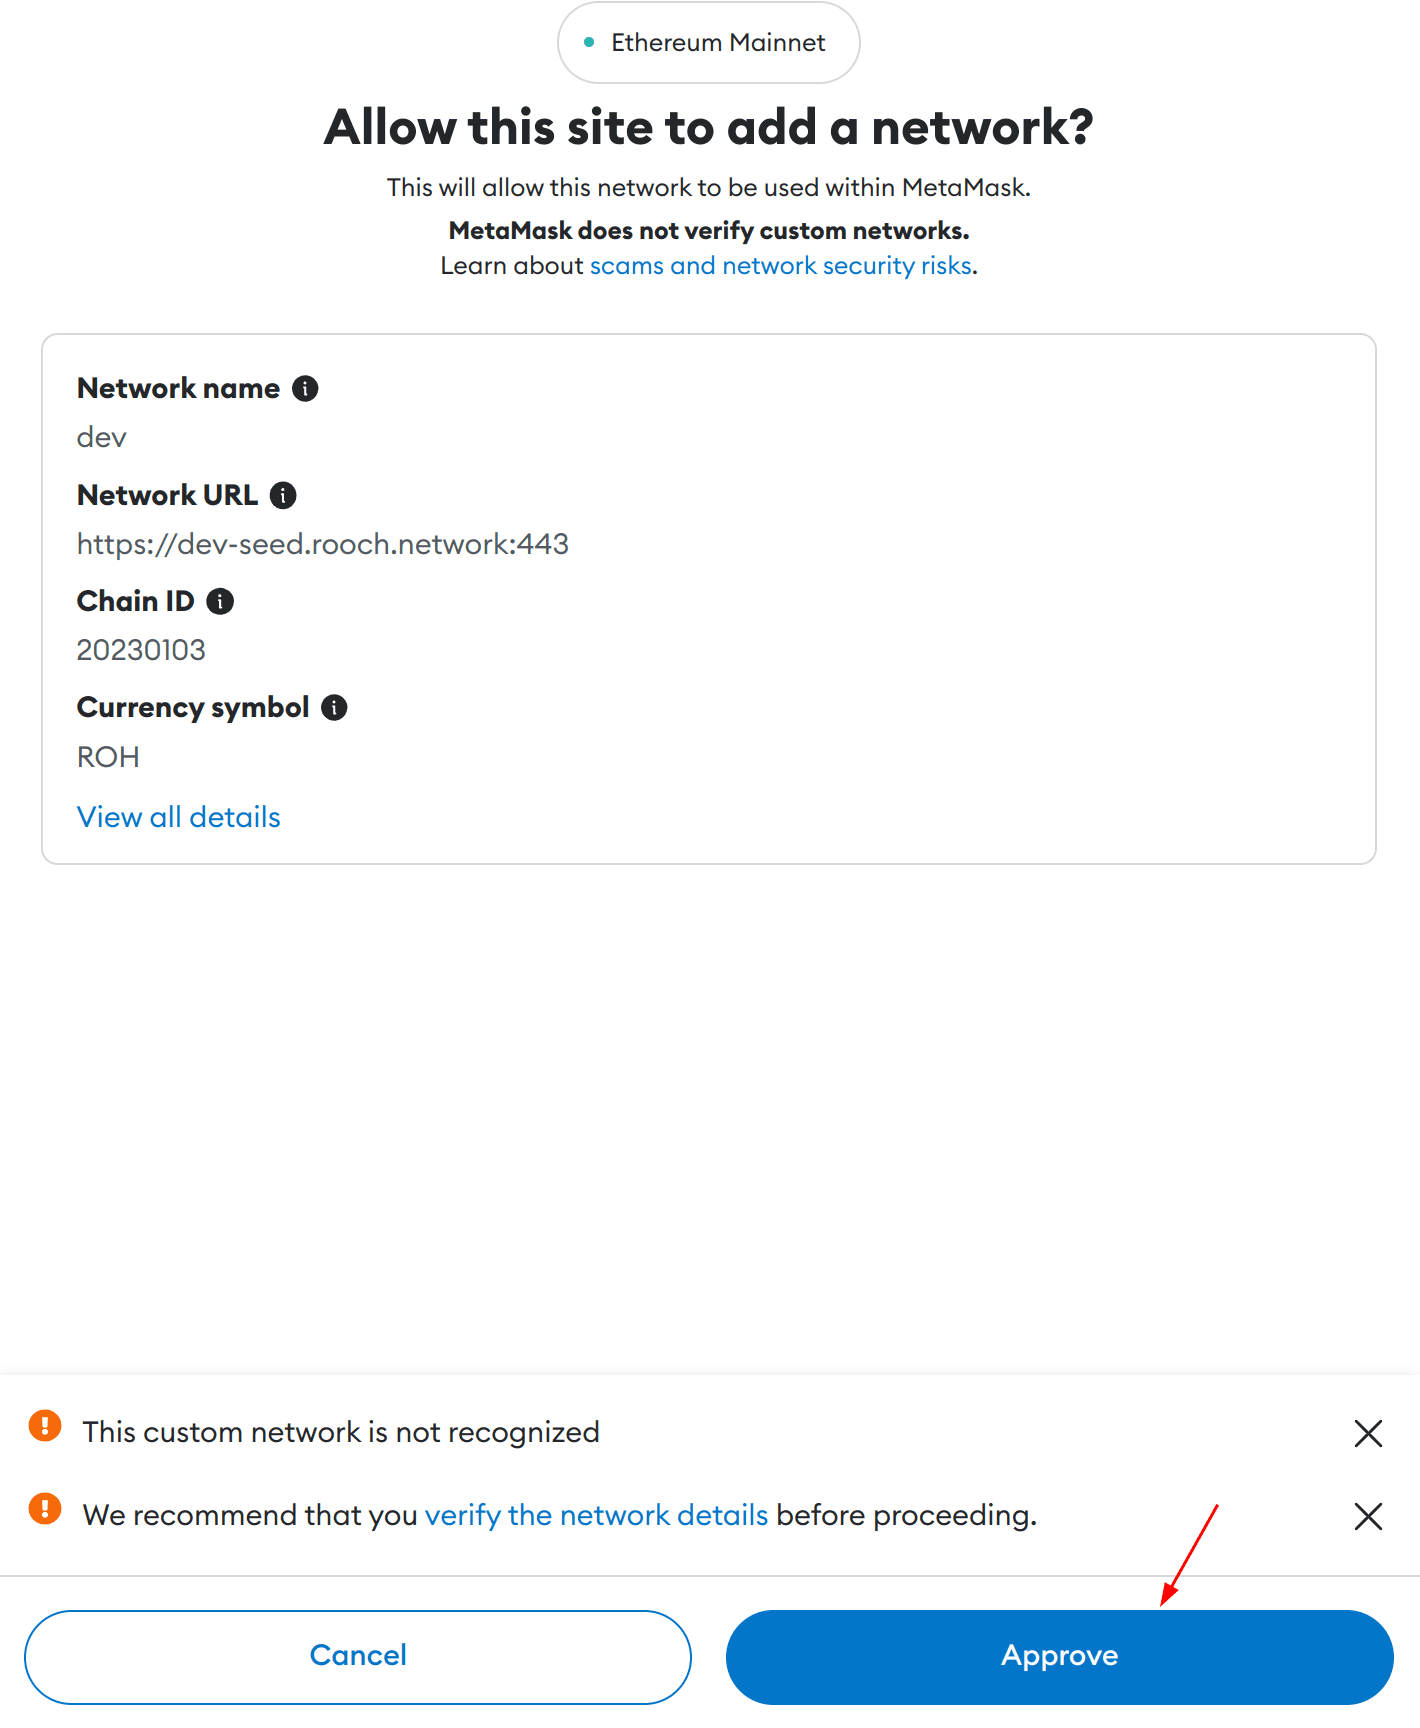
When MetaMask interacts with Rooch Dashboard for the first time, it will automatically check whether a Rooch network has been added, and if not, it will prompt you to add it.
Using MetaMask to connect Rooch network
Click on Rooch Dashboard (opens in a new tab), click the CONNECT button, and the MetaMask authorization page will automatically pop up.
Click the Approve button to approve MetaMask to connect to Rooch Dashboard:
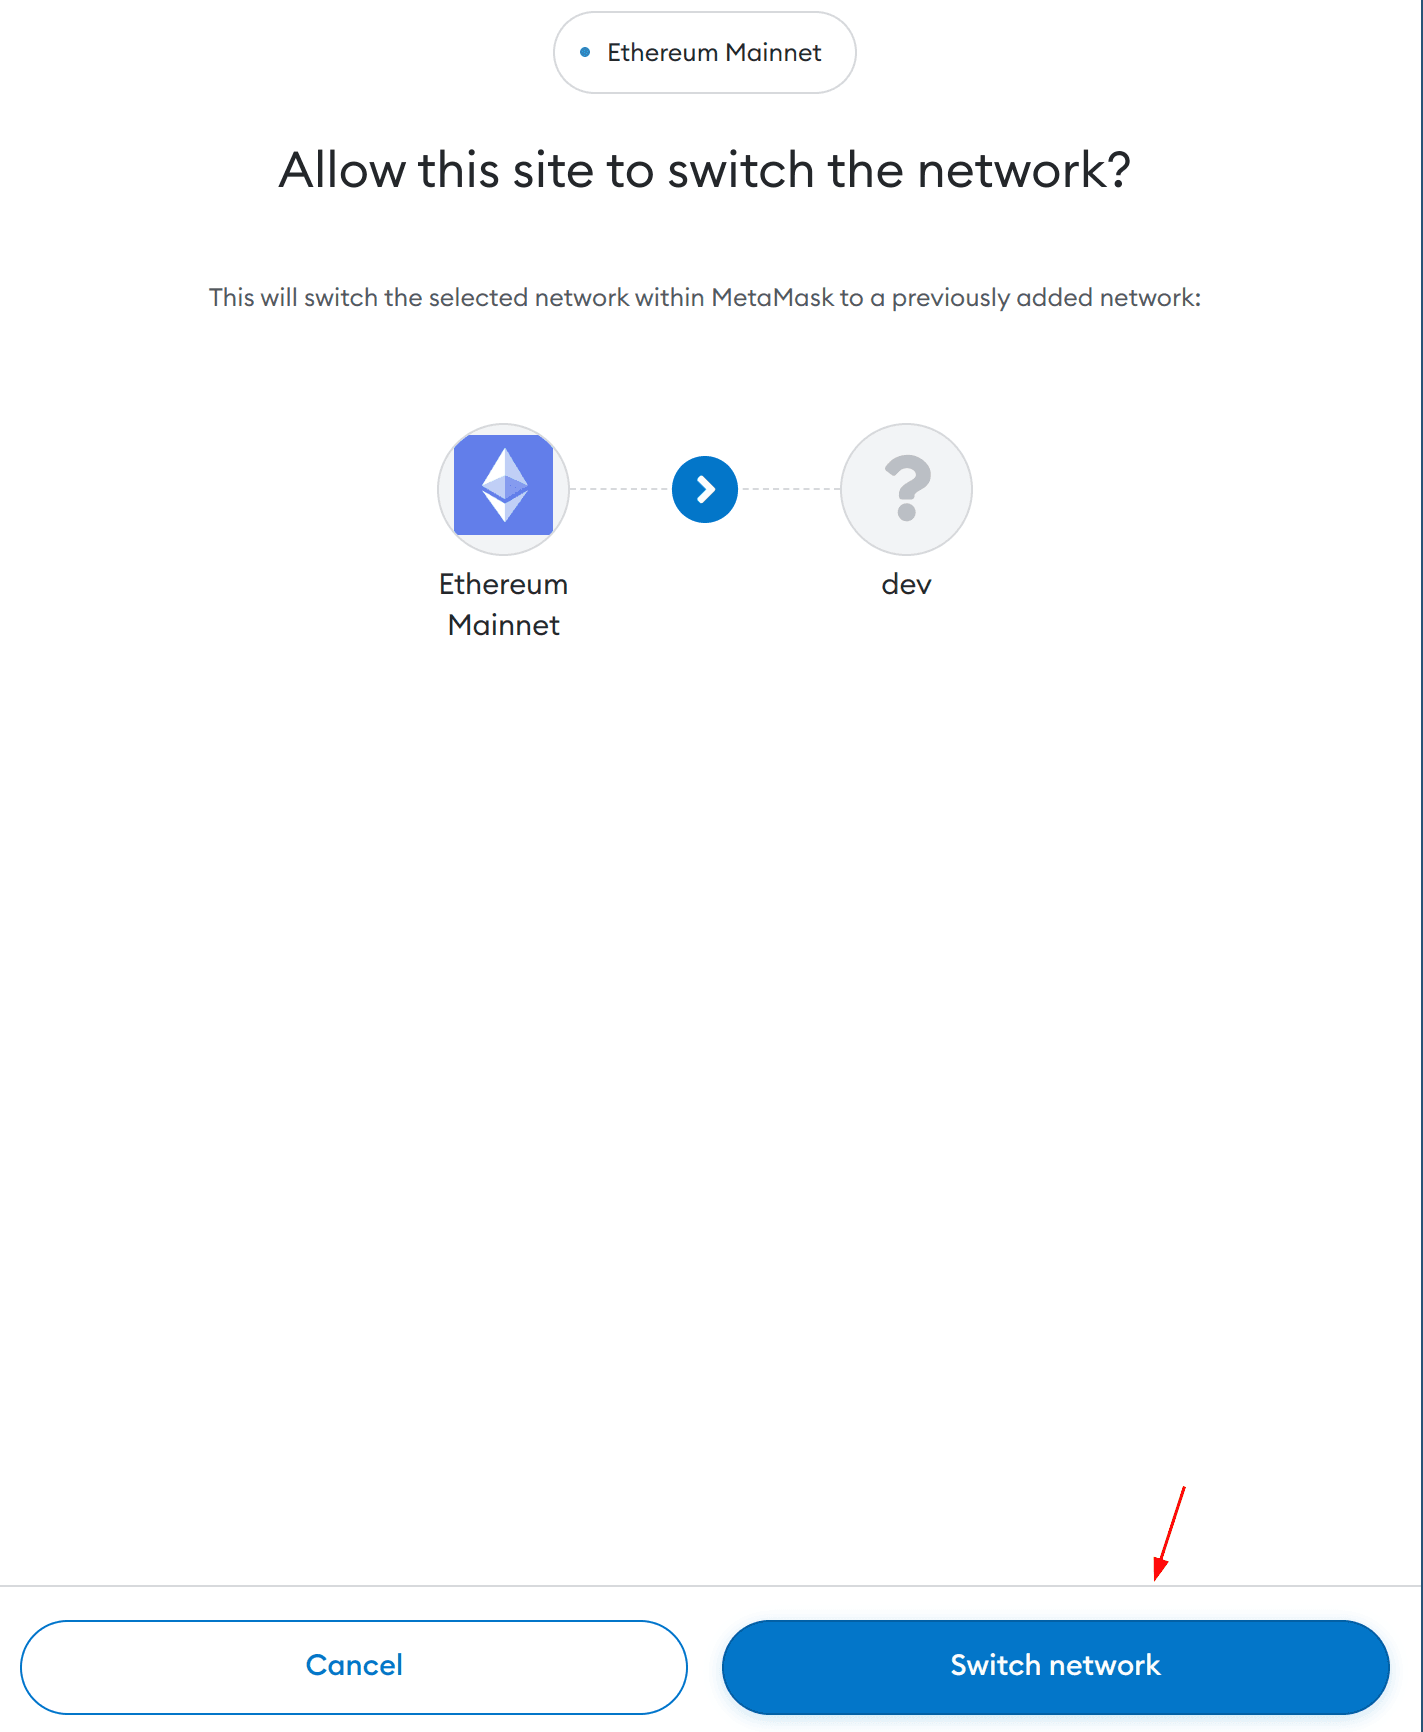
Because MetaMask is currently connected to Ethereum's main network, you will be prompted whether to switch to Rooch's network. Click Switch network MetaMask to switch to Rooch's network:
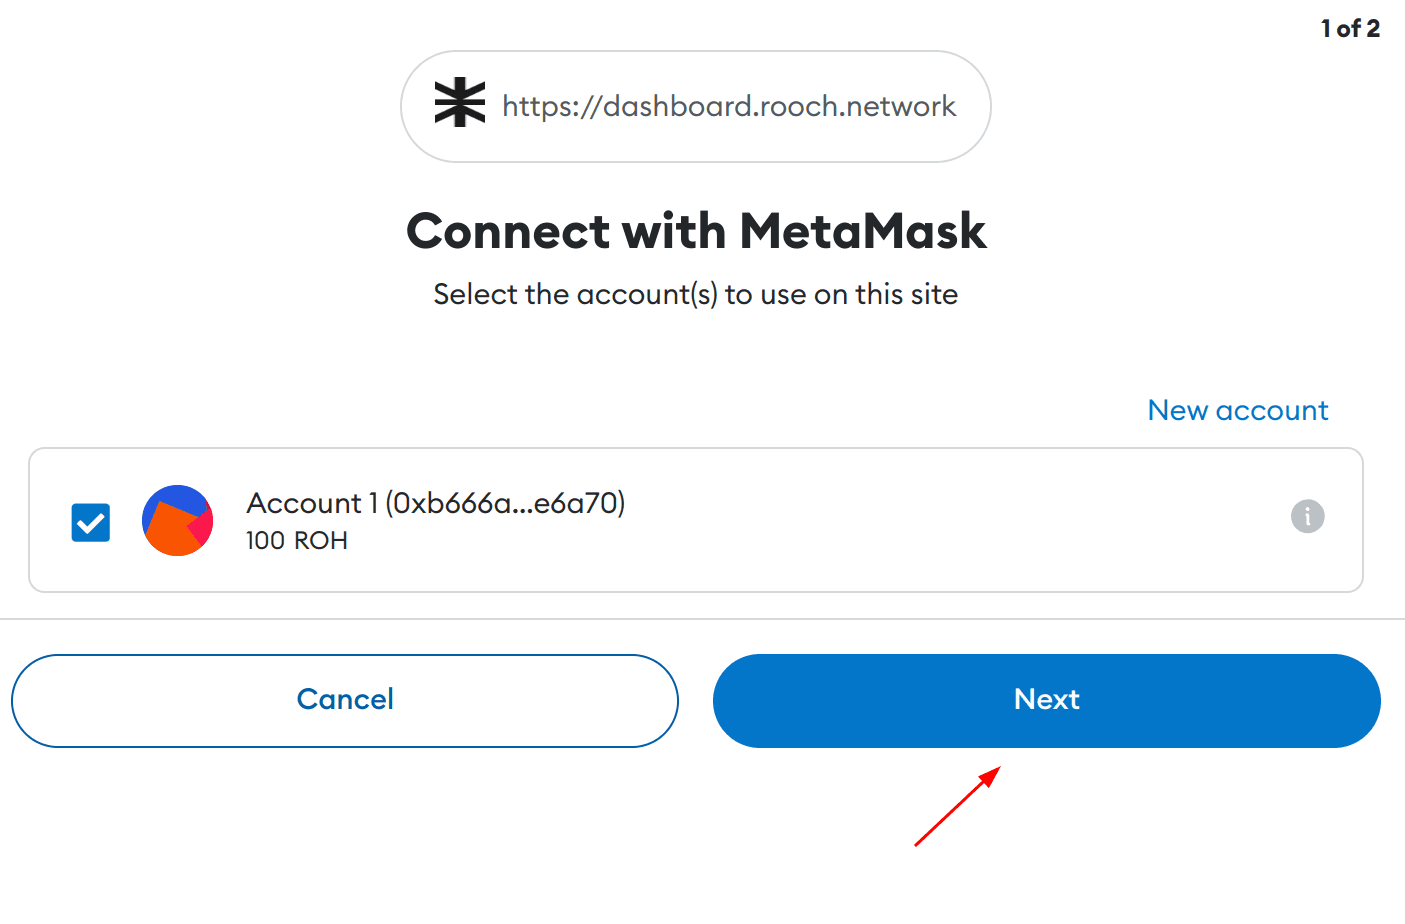
Next, select the account you want to connect to the Rooch network. After checking the account, click Next:
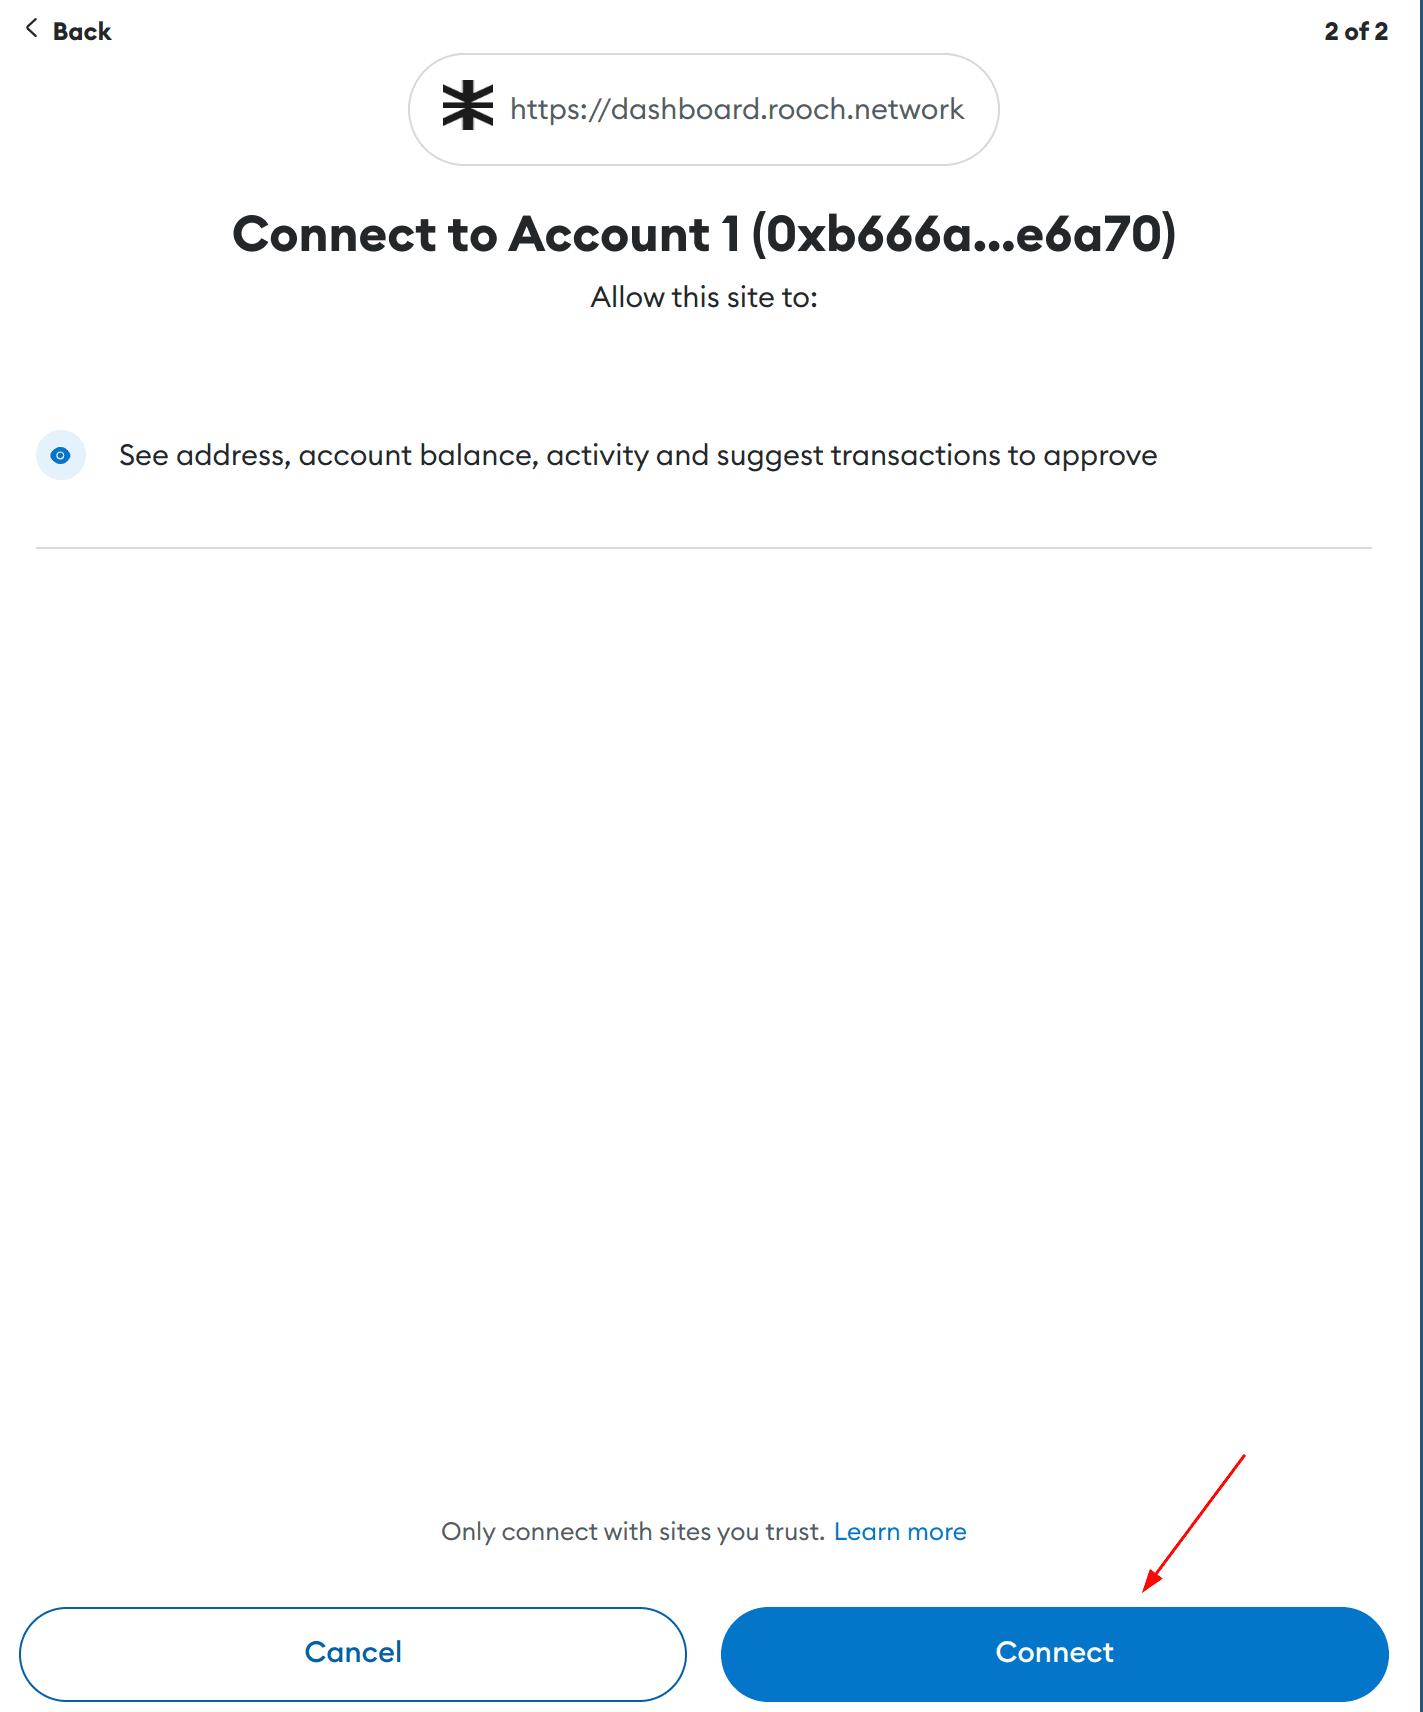
A confirmation message will be displayed next. If there is no problem, click the Connect button to connect:
The picture below shows that MetaMask has been successfully connected to Rooch Dashboard:
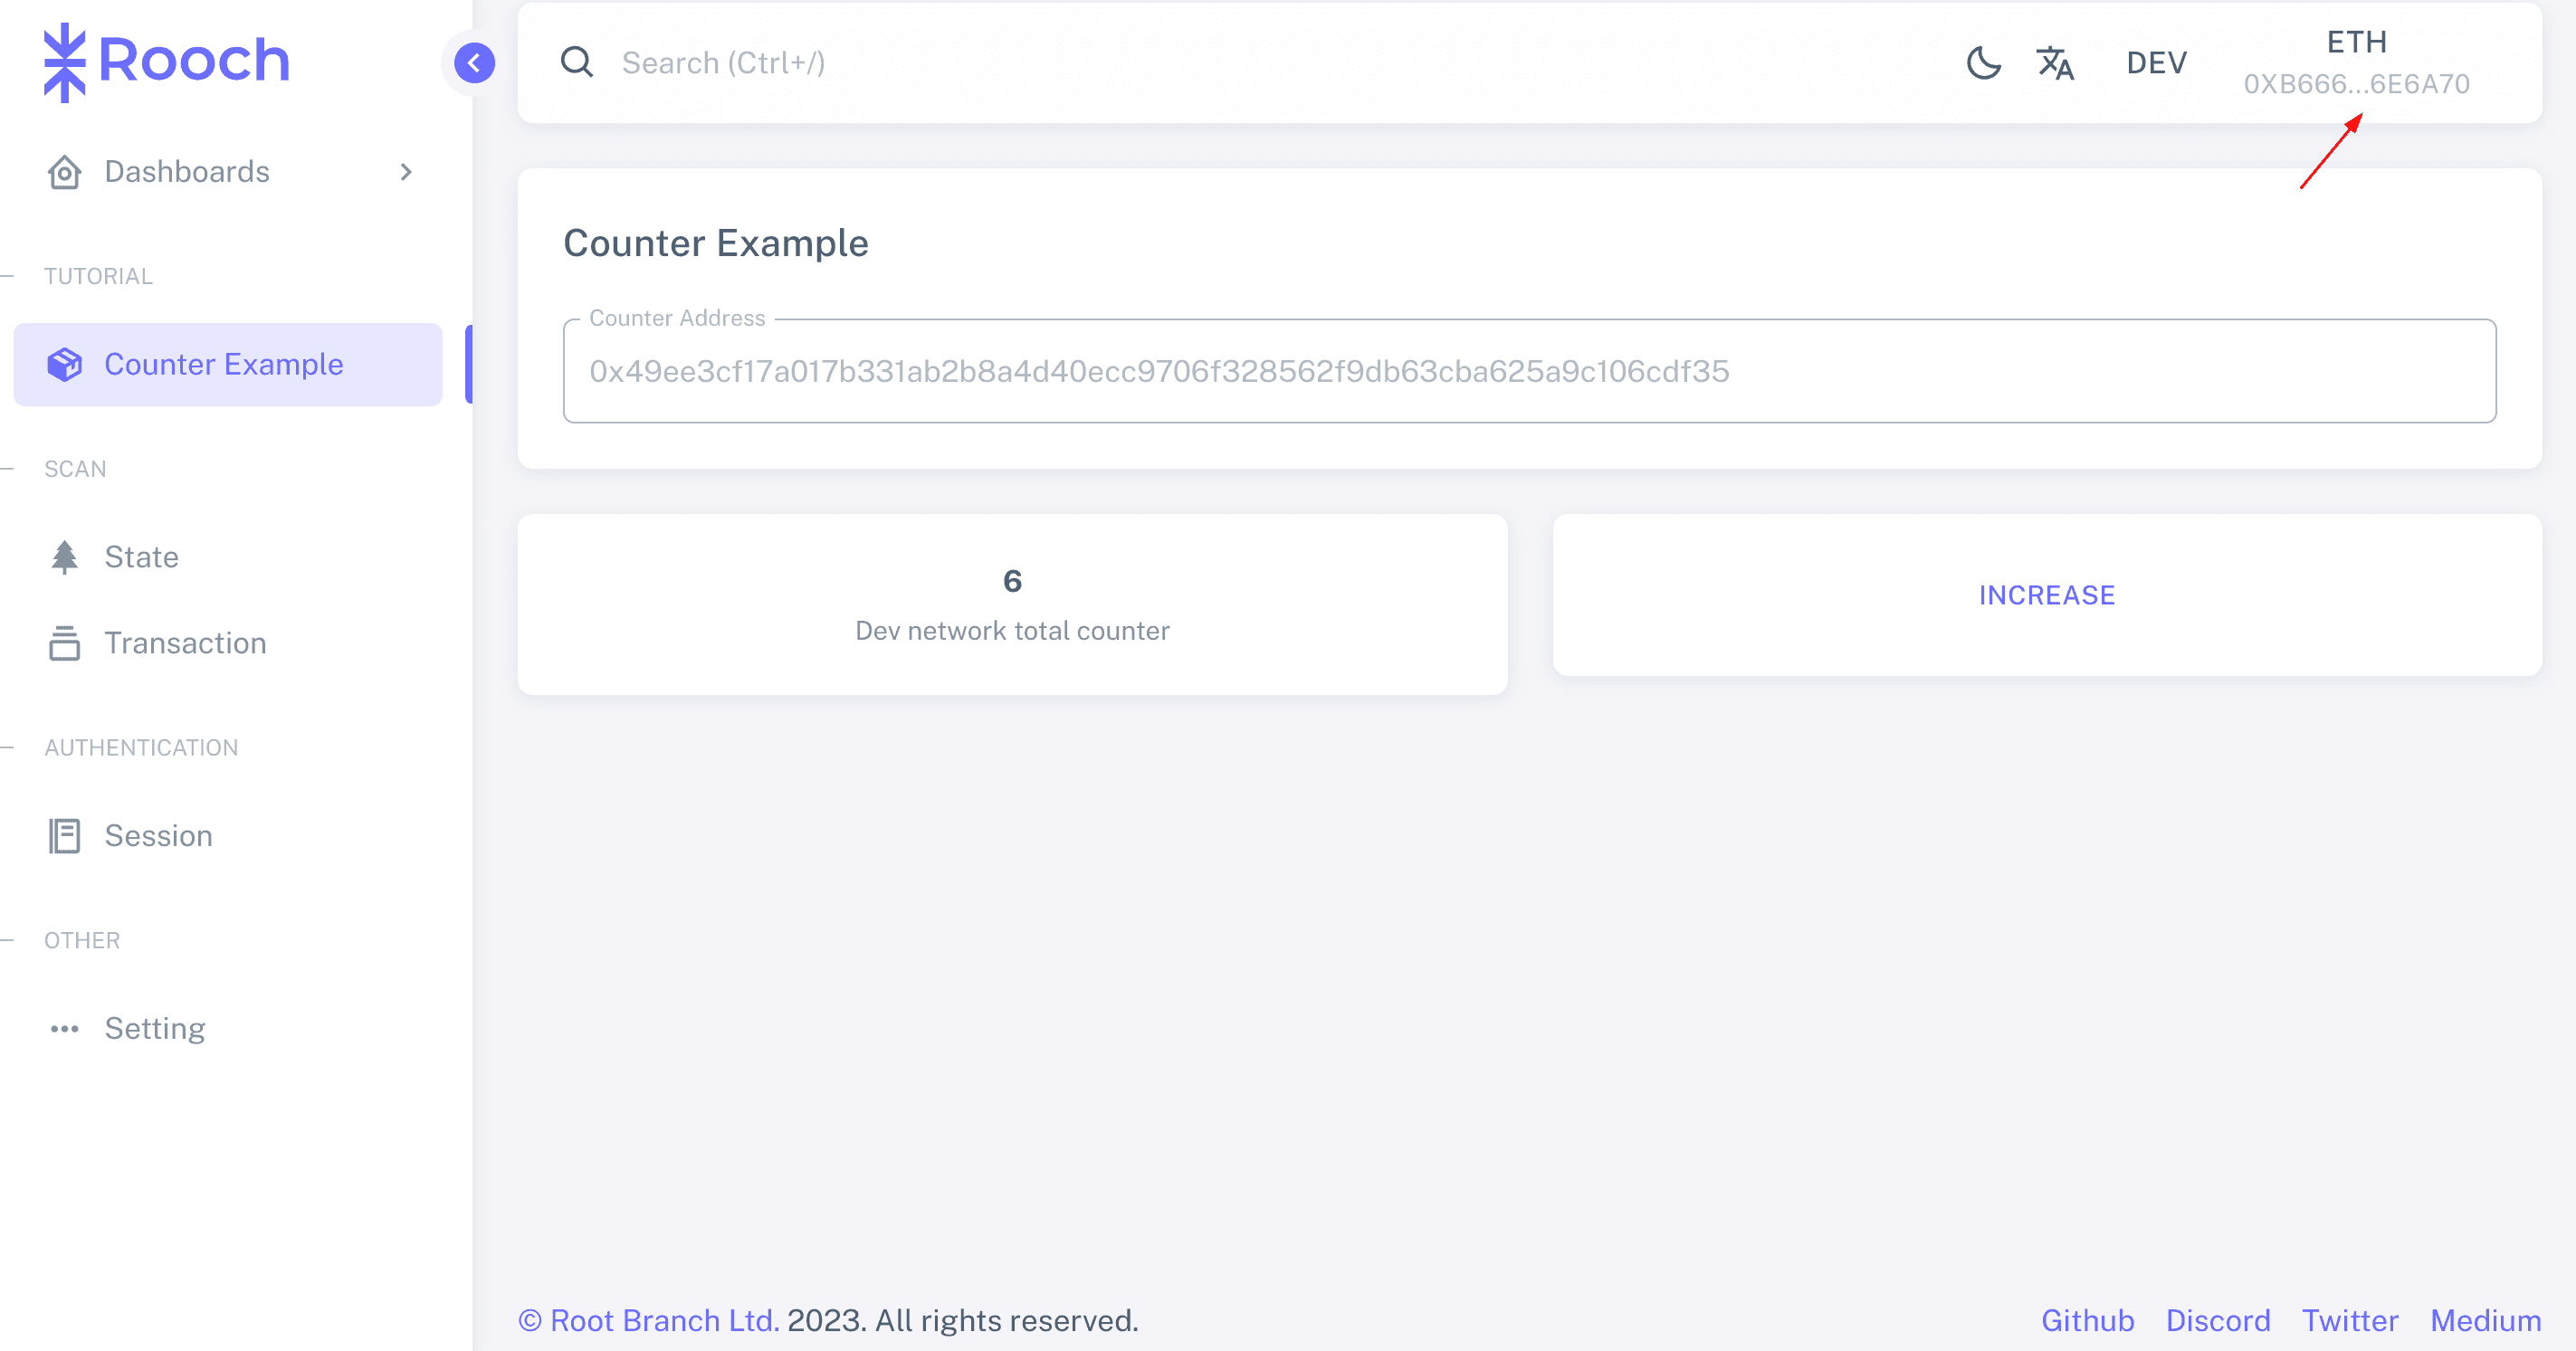
Next, we click on MetaMask to check and see that the upper left corner has been connected to the Rooch network. At this time, the account also displays the Rooch token balance:
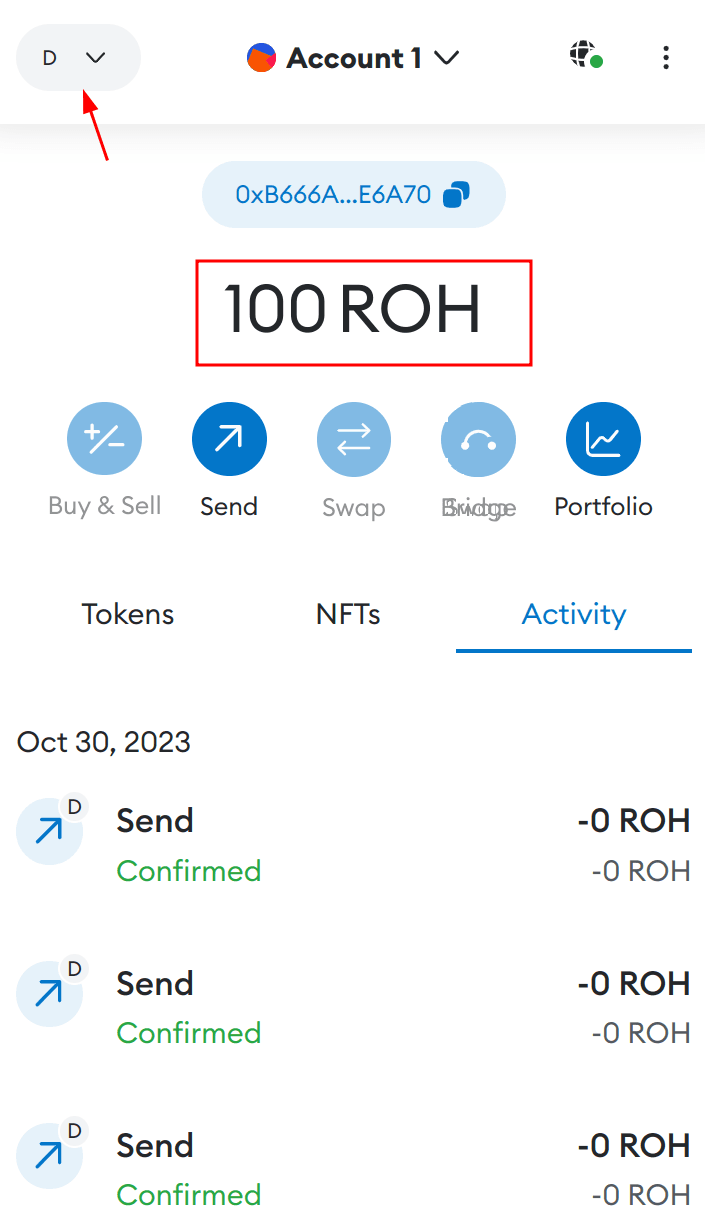
Note: We can click the network icon in the upper left corner to switch networks.
TODO:
This document is being improved!
- How to send a tx with MetaMask.
- How to attach and detach a DApp.